
Mon - Fri: 8am - 5pm, Sat - Sun: Closed

6-36 Month Warranties
We Ship Local.
Hablamos Español.
Connect with
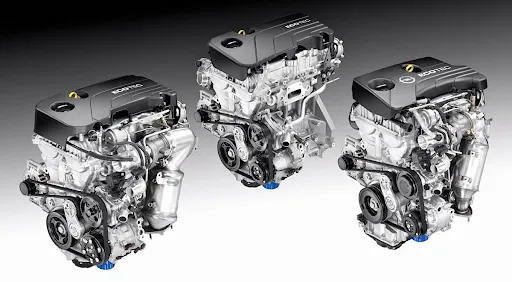
Engine Swap Checklist to Prevent Comebacks
Engine Swap Checklist
Why swap comebacks happen after good installs
Many engine swap comebacks are not caused by the replacement engine itself. They often result from reusing aging seals, brittle hoses, worn mounts, contaminated sensors, or damaged connectors during installation. These components may appear functional at first, but once the engine is back in service, heat, pressure, and vibration reveal weaknesses. This can lead to oil leaks, vacuum issues, cooling problems, or fault codes, requiring extra labor to fix and extending downtime.
A structured engine swap checklist is essential to prevent these issues. Addressing critical components while access is easy reduces the risk of repeat repairs. A “while you’re in there engine swap” approach ensures the installation is complete, reliable, and performs flawlessly from the first startup.
The goal is not to replace every component without reason, but to focus on high-risk items that are difficult to access later or likely to fail due to age and heat exposure. Evaluating these parts during the swap helps prevent unnecessary labor and ensures the replacement engine performs as expected. Using a disciplined checklist supports efficiency, reduces the risk of comebacks, and promotes long-term reliability, making the installation both effective and dependable from the first startup.
Seals hoses sensors and mounts to review
Leak prevention should be the first priority when deciding which seals to replace during engine swap procedures. Rear main seals, front crank seals, valve cover gaskets, oil pan gaskets where accessible, intake seals, and coolant-related gaskets should be inspected or replaced based on condition and accessibility. Rubber components degrade over time, and even minor leaks can turn into major problems once the engine is reinstalled. Cooling hoses, heater lines, vacuum hoses, and PCV components should also be checked for cracks, swelling, or oil contamination.
Sensors and mounting components are critical for performance. Engine swap sensors, including cam and crank position sensors, coolant temperature sensors, knock sensors, and wiring connections, should be checked for damage or wear. Engine and transmission mounts should also be evaluated, as worn mounts can cause vibration or alignment issues.
Electrical connections are just as important as mechanical components during an engine swap. Damaged connectors, loose terminals, or corrosion can create intermittent faults that are difficult to diagnose after installation. Small items such as clamps, fittings, and plastic connectors should not be overlooked, as they often contribute to leaks or system failures. Addressing these details during installation helps ensure a smoother and more reliable engine swap outcome, minimizing potential issues and improving overall system performance and long-term reliability.
The most common parts people regret reusing
Rear main seals are one of the most common components that cause regret when reused. If they fail after installation, the labor required to access and replace them is significant. Valve cover gaskets and upper sealing components are also frequent problem areas, especially on engines with known heat-related wear patterns. Replacing these parts during the swap can prevent oil leaks that would otherwise require extensive disassembly later, increasing labor time, cost, and inconvenience for both technicians and customers, while improving overall reliability.
Cooling system components are another major source of engine swap comebacks. Hoses that appear acceptable during removal may fail once exposed to pressure and temperature again. Heater hoses, bypass lines, and hidden connections behind the engine should be carefully evaluated. Weak clamps and aging plastic fittings often lead to leaks that could have been prevented with minimal additional effort during installation, helping ensure proper cooling performance and long-term durability.
Sensors and electrical grounds are often overlooked but can create serious drivability issues. A worn crank sensor, poor ground connection, or damaged harness can lead to intermittent starting problems, stalling, or warning lights. These issues may not appear immediately but can develop after the vehicle is returned to service, leading to costly diagnostic work, repeat repairs, and customer dissatisfaction if not properly addressed during installation.
Houston Engines recommends treating these supporting components as part of the engine replacement process. Preventing engine swap comebacks depends on addressing the full system, not just the engine itself. A complete and careful installation approach ensures that the replacement engine operates reliably, reduces unexpected failures, minimizes downtime, and consistently meets customer expectations for performance, safety, and long-term durability.
Building a smarter swap parts checklist
Creating an effective checklist starts with understanding the platform and its common failure points. Identify which seals are prone to leaks, which hoses are exposed to the most heat, and which sensors are known to fail. Categorize components into those that must be replaced, those that should be inspected closely, and those that can be reused with confidence. This structured approach helps balance cost control with reliability while preventing unnecessary part replacement and ensuring that high-risk components are properly addressed during the engine swap process. It also improves efficiency by helping technicians stay organized and focused throughout the installation.
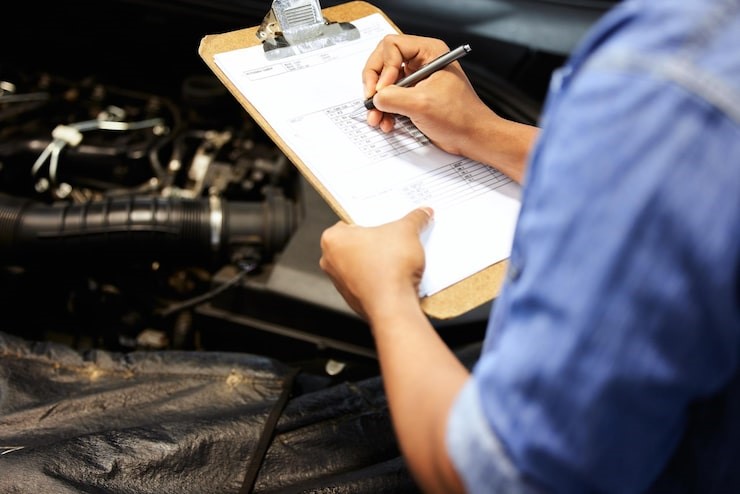
Documentation is also an important part of the process. Recording which components were replaced, inspected, or reused provides clarity for both the installer and the customer. It also supports warranty considerations by showing that proper installation procedures were followed. Maintaining accurate records improves transparency, reduces the likelihood of disputes, and ensures consistent service quality. For guidance on replacement planning and installation best practices, contact us at Houston Engines to complete your engine swap with confidence and long-term reliability.
While You’re In There Swap Checklist
Start with high-risk sealing points. Replace or inspect rear main seals, front seals, valve cover gaskets, oil system seals, and coolant sealing areas that will be difficult to access after installation. Addressing these components early helps prevent leaks, reduces future labor requirements, and improves long-term reliability. Focusing on these sealing areas during the initial stage of the swap ensures that a used engine performs efficiently and minimizes the chances of repeat repairs or unexpected downtime later.
Inspect all hoses and fluid lines carefully throughout the process. Engine swap hoses and sensors should be evaluated for cracks, brittleness, and contamination. Replacing weak hoses and fittings during installation is one of the most effective ways to prevent cooling and vacuum-related issues later. Proper inspection also helps maintain consistent fluid flow, system pressure, and overall engine performance under varying operating conditions.
Check sensors, connectors, and electrical grounds before startup. Ensuring clean, secure connections helps prevent fault codes, drivability issues, and intermittent electrical problems that can occur after installation. Proper electrical integrity is essential for reliable engine performance and ensures that all systems communicate correctly without unexpected interruptions.
Evaluate engine and transmission mounts as part of the overall installation. Stable mounting prevents vibration, alignment issues, and unnecessary stress on components. A complete engine swap checklist ensures that all supporting parts contribute to a dependable, efficient, and long-lasting repair process, whether installing a used engine or a new replacement.
Get our latest news and promos
QUALITY ASSURED


SATISFACTION GUARANTEED

UNPARALLELED SUPPORT
Houston Engines
Proud Member


Social Media
Payments Accepted
Ship Via